


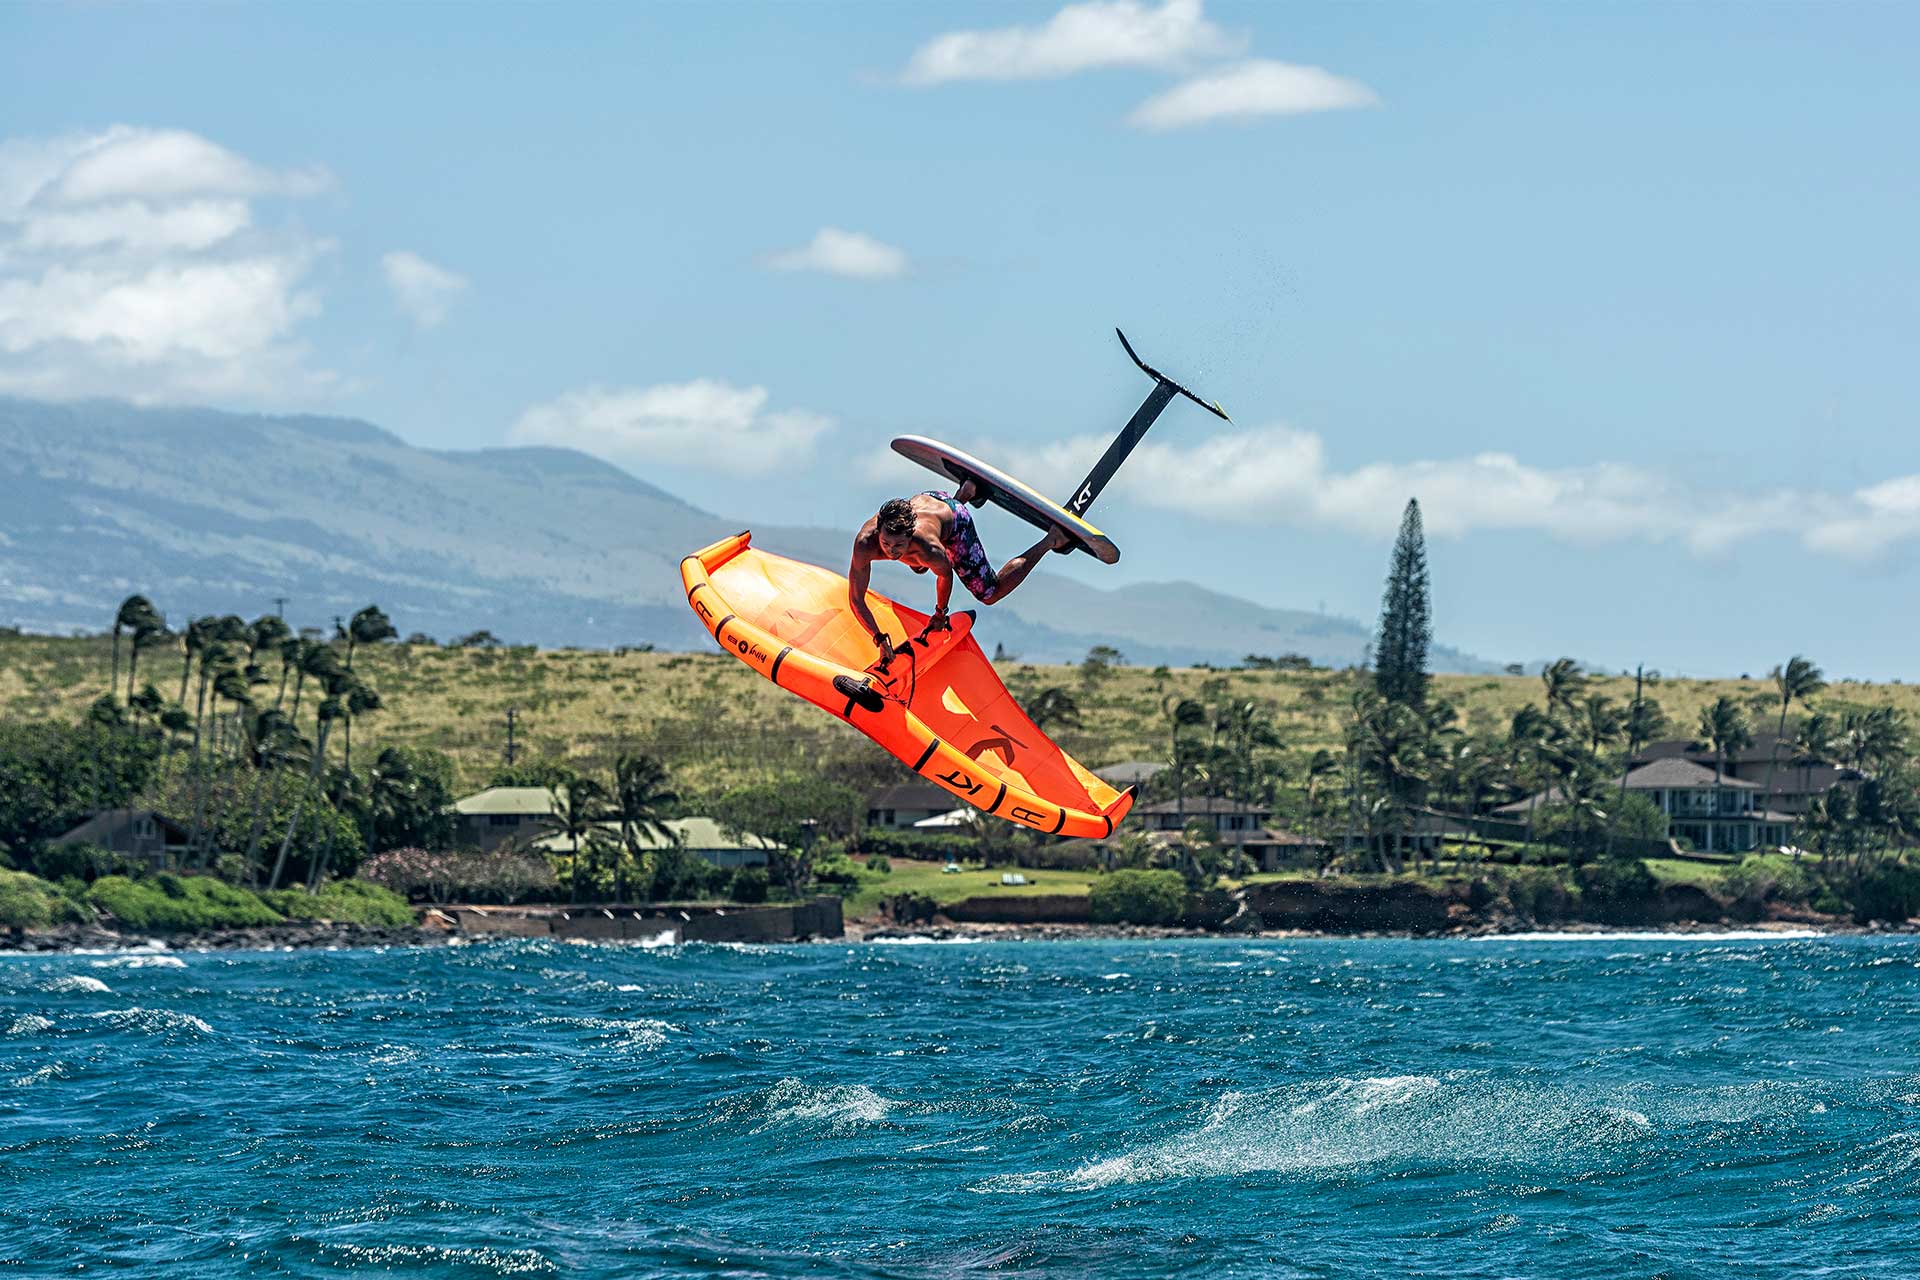
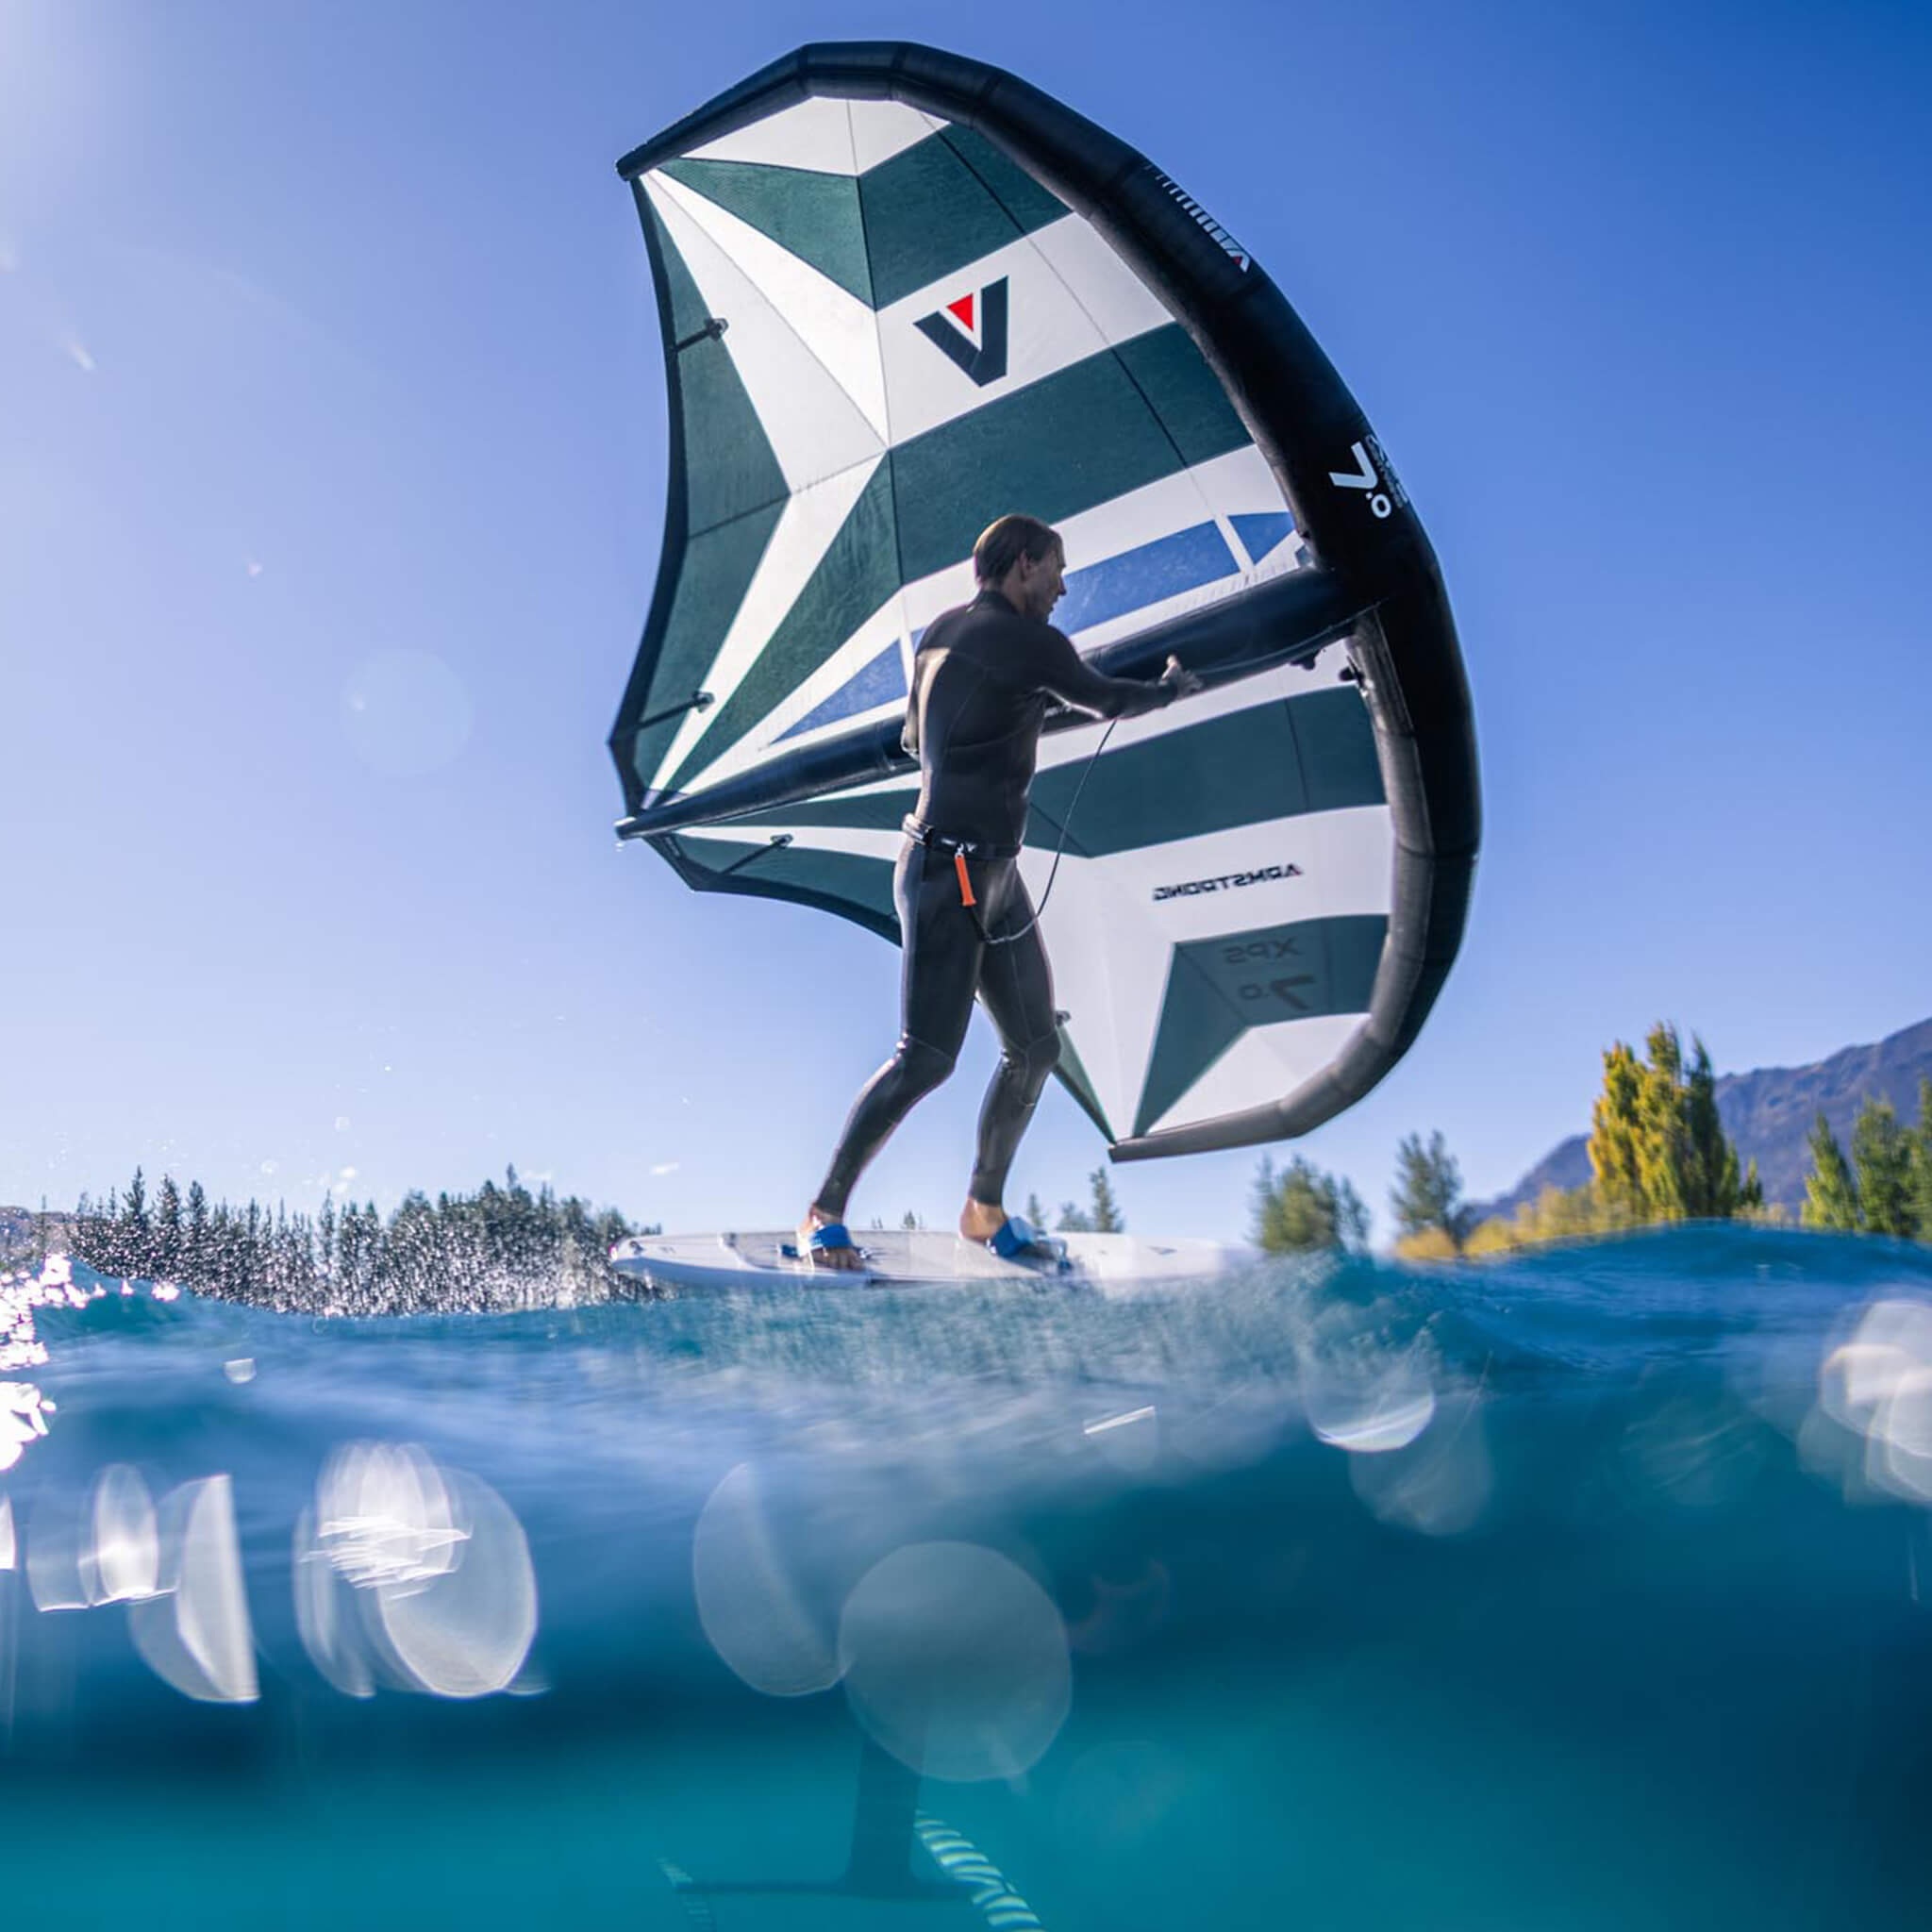
The first time a foil lifts cleanly beneath you, wing foiling stops looking like a complicated collection of carbon and inflatable fabric. It feels fast, quiet and seriously addictive. Getting to that moment, though, depends less on buying the flashiest gear and more on matching your set-up to your body weight, local conditions and current skill level.
A good first set-up should make take-offs predictable, soften the consequences of a clumsy gybe and leave room to progress. A poor match can turn a windy afternoon into a frustrating swim. Here is how to make the smart calls before you commit.
What makes wing foiling different?
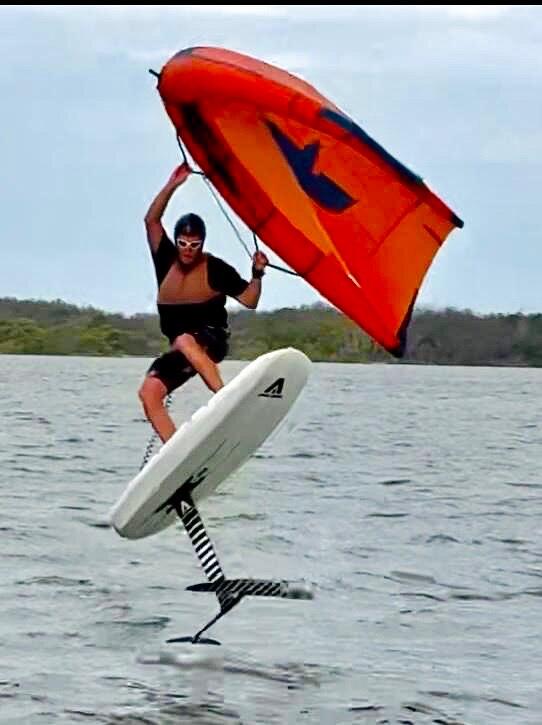
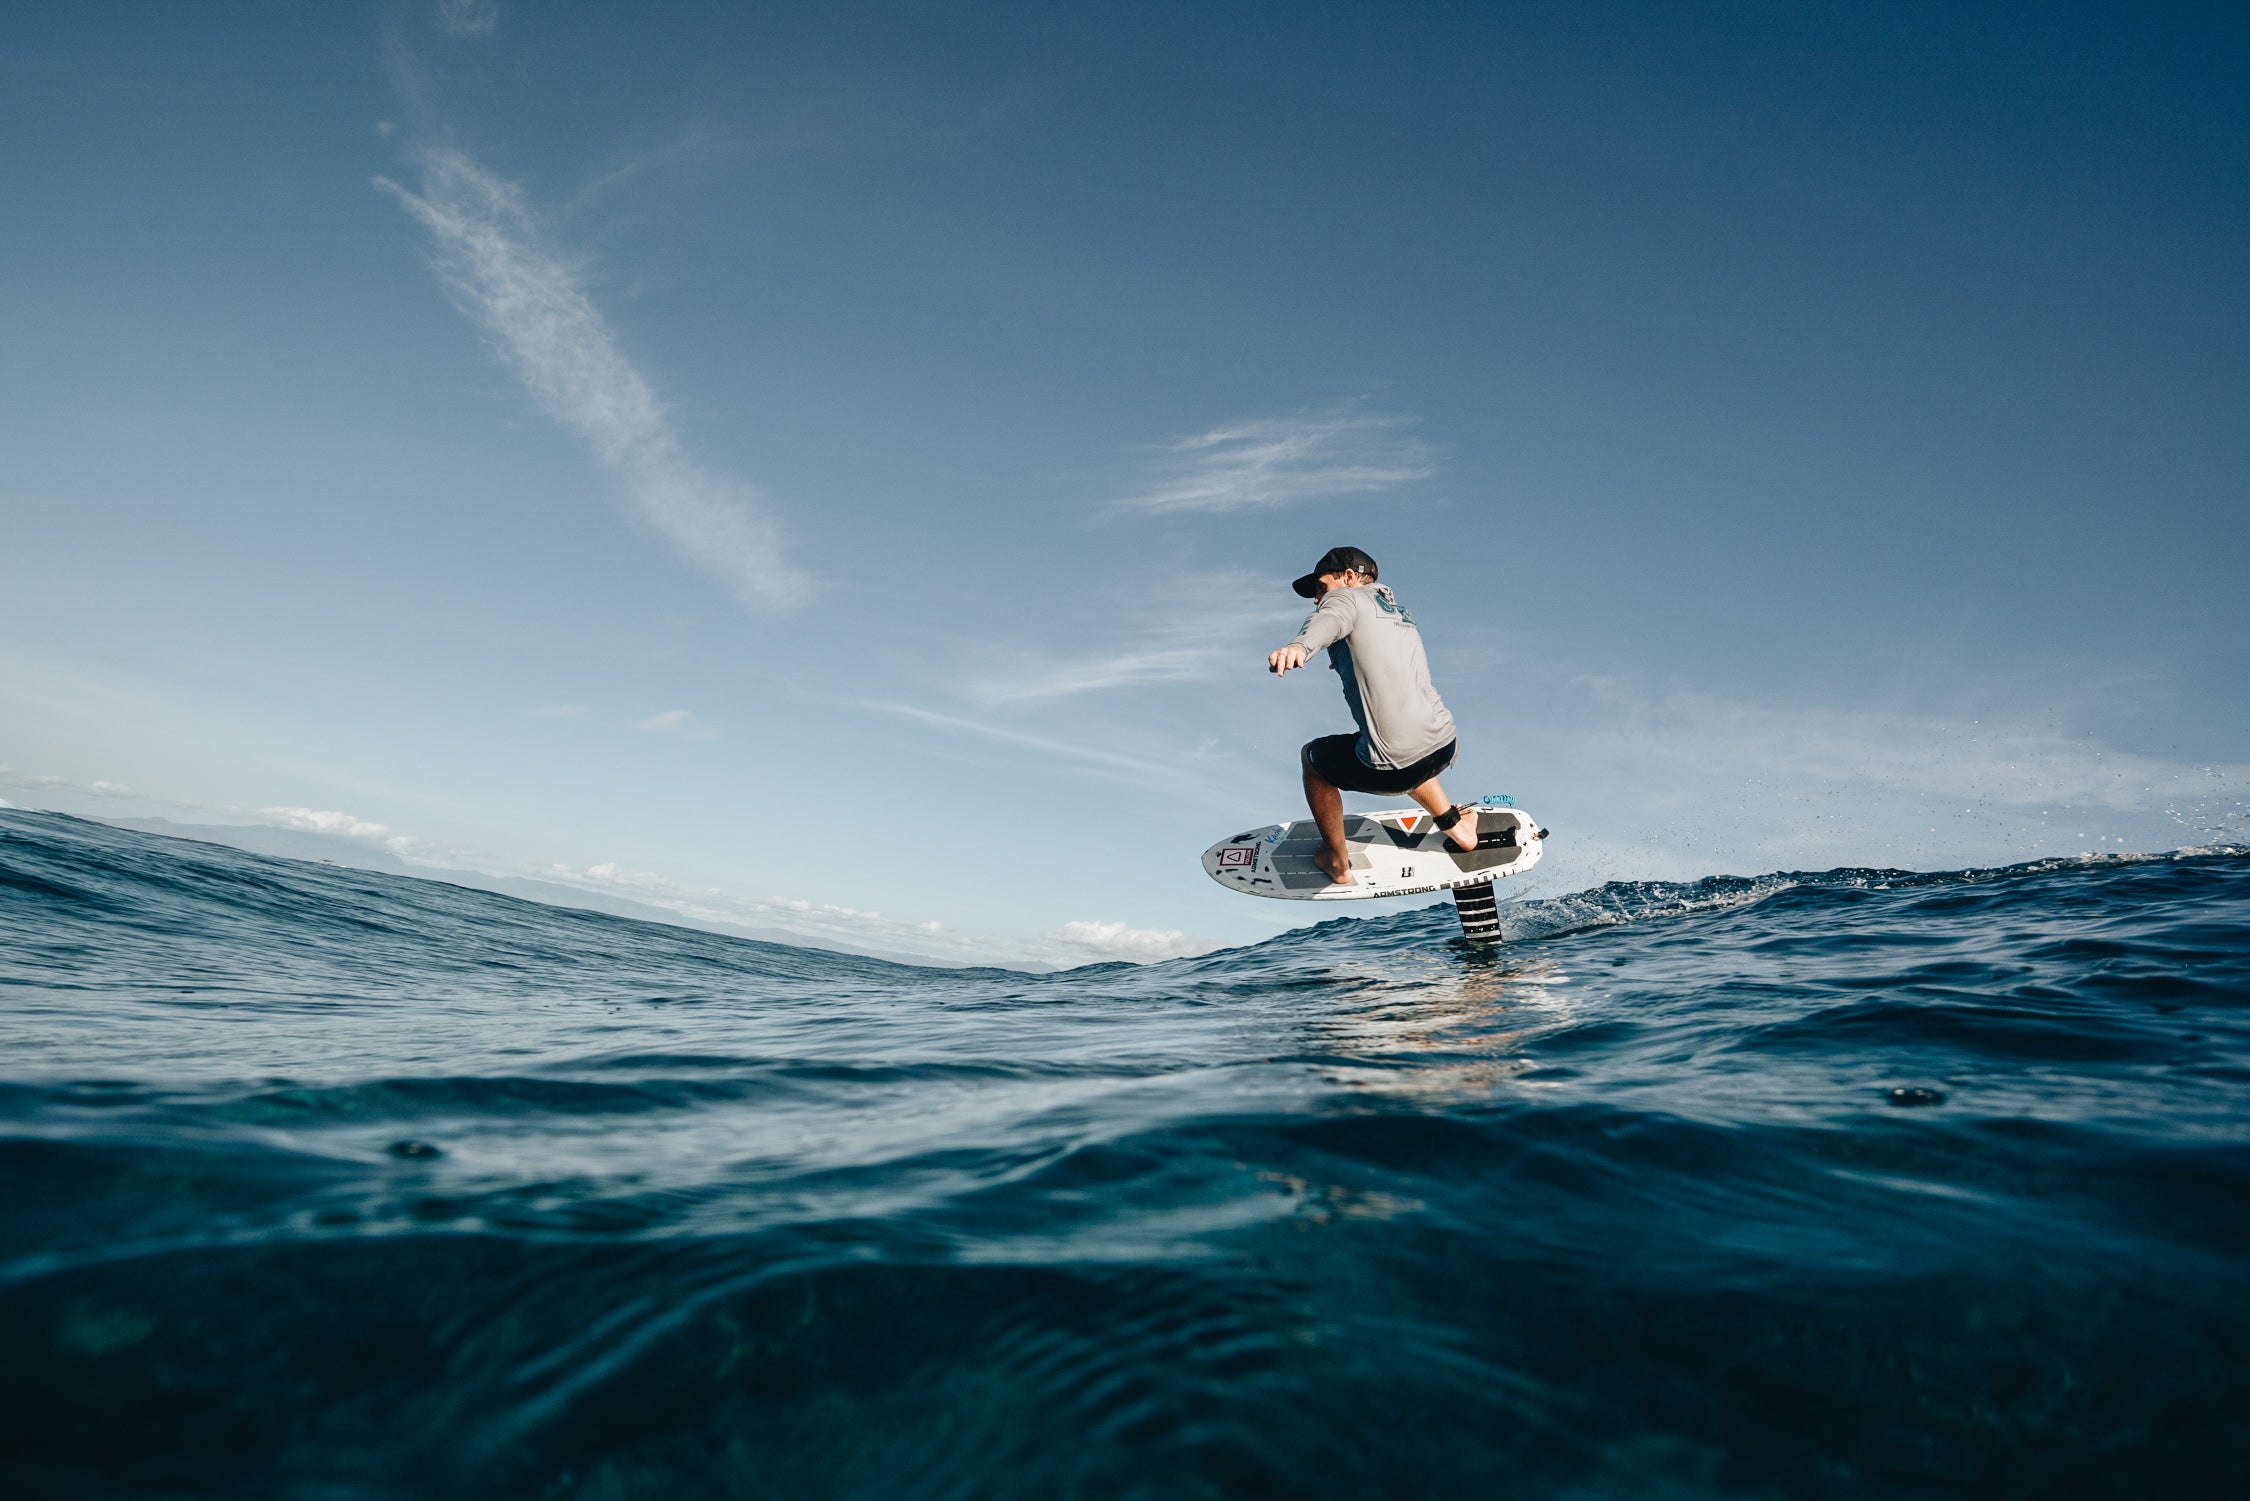
Wing foiling combines a hand-held wing with a hydrofoil board. Unlike windsurfing, you are not connected to a rig. Unlike kiting, there are no lines to manage. The wing generates power, while the foil creates lift under the water once the board reaches enough speed.
That freedom is a big part of the appeal. You can ride wind swell, carve a small runner, cruise across a bay or simply work on clean transitions. It also means every part of the set-up matters. The board needs enough volume to get you standing. The wing must create useful low-end power without feeling like a handful. The foil needs to lift early but stay composed when you gain speed.
For Australian riders, conditions make the choice even more specific. A steady seabreeze at a protected Queensland bay calls for something different to gusty river wind, a lumpy Victorian shore break or a lighter afternoon on a WA estuary. There is no single best package, only the best fit for how and where you ride.
Start with your actual riding goal
It is tempting to choose gear based on the rider flying past at your local. But their compact board and high-aspect foil may be designed for strong wind, fast downwind runs and advanced carving. A beginner who buys that same set-up often gets less lift, more falls and a much longer learning curve.
Be honest about your starting point. If you are new to foiling altogether, your first goal is consistent lift and controlled touchdowns. If you already kite foil, wake foil or surf foil, you may be comfortable with foil balance but still need to learn wing handling and waterstarts. If you can windsurf or SUP, standing and reading wind may come quickly, but the foil still deserves respect.
Think about the riding you want to do most often as well. Freeride riders usually value easy take-off, stable flight and friendly gybes. Wave riders may eventually prefer a smaller board and foil that turns tightly with less glide. Downwind-focused riders often chase efficient, high-aspect foils and a wing size that suits longer runs. Your first kit does not need to do everything perfectly, but it should do your main thing well.
Choose a board that helps you learn
For most beginners, volume is your friend. A higher-volume board sits above the water while you kneel, stand and position the wing. That stability gives you time to learn the sequence: get upright, sheet in, build speed, then apply gentle pressure to lift.
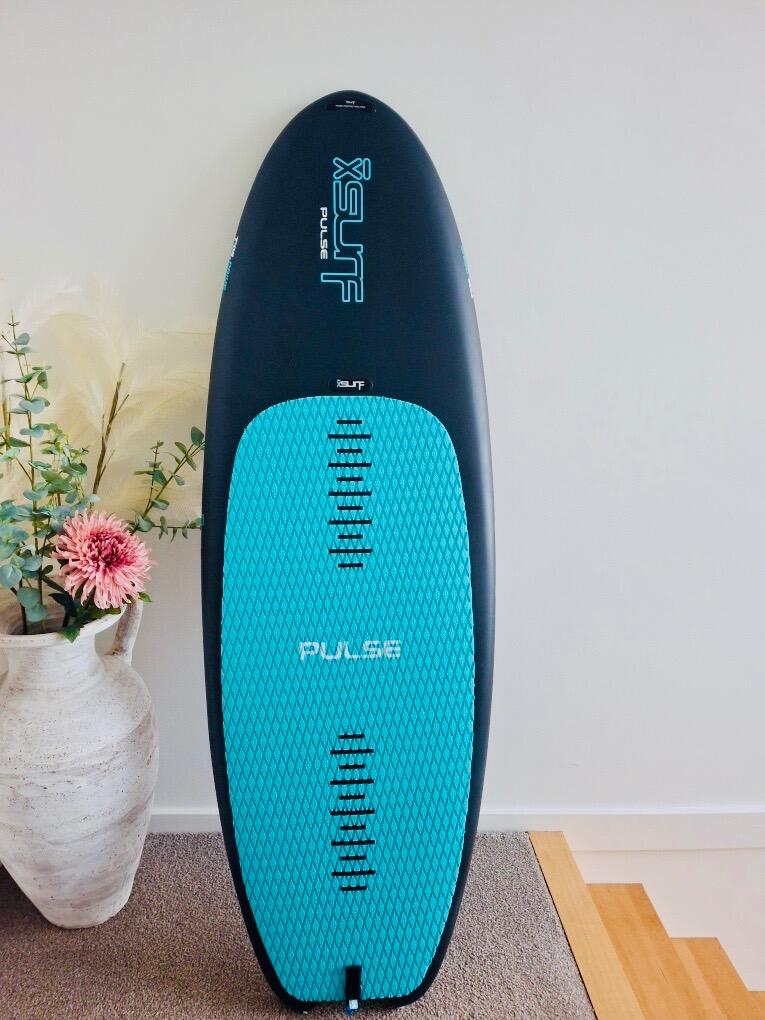
As a broad guide, a first wing board often sits around 20 to 40 litres above rider weight in kilograms. An 80 kg rider might begin around 100 to 120 litres, depending on fitness, water experience and conditions. A rider with strong board skills can often go smaller; someone learning in chop or lighter wind may appreciate more volume.
Board shape matters alongside litres. Wider, longer boards tend to be easier to balance and release from the water. A pronounced bevelled rail can make touchdowns less abrupt, while a compact board can feel more responsive once you are flying. The trade-off is straightforward: smaller boards are easier to throw around once skilled, but they are less forgiving before you can reliably foil.
Do not rush to a sinker board because it looks more advanced. You will get there faster by spending more sessions flying.
Footstraps can wait
Footstraps are useful for jumps, control in powered conditions and more committed riding, but they add another layer of consequence. Most new riders are better off learning strapless. You can step off cleanly when things go wrong, adjust your stance easily and focus on finding the foil's balance point. Add straps when your starts, straight-line riding and turns are dependable.
Pick a foil for lift, not bragging rights
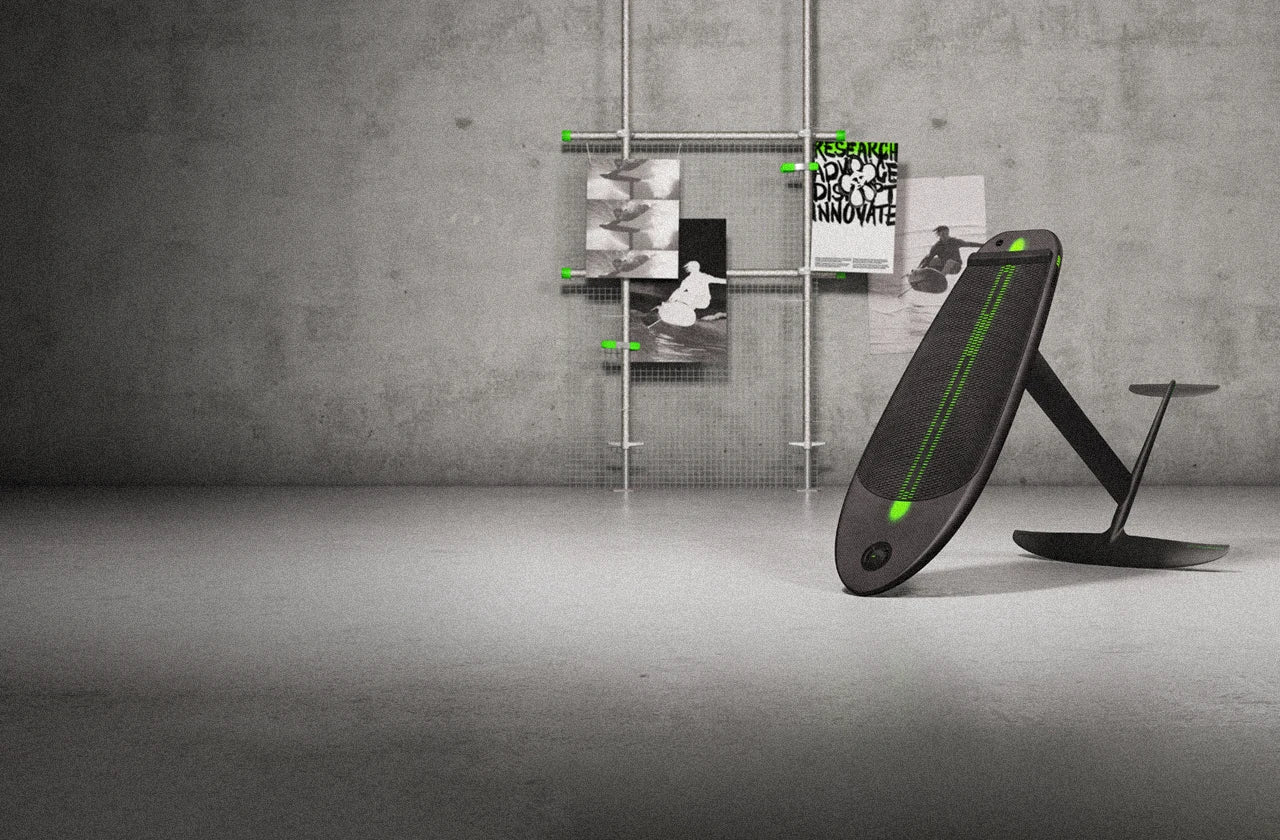
Your front wing is the engine room. For a first foil, surface area and profile generally matter more than maximum speed. A larger front wing lifts at lower speed, which means fewer frantic pumps and easier take-offs. It will also feel more stable underfoot while you develop pitch control.
Heavier riders, lighter wind and smaller wings normally point towards more front-wing area. Lighter riders in consistently windy locations can often use less. A moderate-aspect foil is a dependable place to start because it balances early lift, stability, turning and glide. Very high-aspect designs can be wonderfully efficient, especially for downwind riding, but they are often less forgiving in roll and can demand more precise technique.
Mast length is another progression choice. A shorter mast reduces the height of early falls and makes breaches less dramatic. A medium-length mast gives more room to absorb chop and hold a steady flight path once you are ready. If you are starting in shallow water, check your launch depth before deciding. Carbon masts are light and responsive, while aluminium systems can offer excellent durability and value. Compatibility, build quality and the ability to change front wings or stabilisers as you improve should all factor into the decision.
Match your wing to local wind strength
A wing that is too small leaves you underpowered and unable to build take-off speed. One that is too large becomes heavy, catches the water during turns and feels awkward once the wind picks up. Your body weight and typical wind range should guide the choice.
For many adult beginners, a wing around 5 to 6 square metres is a practical all-round starting size. Lighter riders or regularly windy locations may favour the lower end. Bigger riders, lighter breezes and flatwater sessions may justify more area. Most riders who stick with the sport eventually own at least two wings because the difference between 12 knots and 25 knots is too great for one size to cover brilliantly.
Look beyond stated size. Handle layout changes how naturally a wing feels in your hands. Stiffer frames can deliver more direct power but may feel firmer in gusts. Softer, more flexible designs can be easier on the arms but may not have the same immediate drive. Windows help some riders with awareness around busy launch areas, while windowless wings are lighter and simpler. These are feel preferences, not universal rules.
Set-up details that prevent expensive mistakes
The foil, board and wing are the major purchases, but the small pieces protect both your gear and your session. Use a board leash and wing leash suited to the discipline and conditions, and inspect their attachment points before every launch. Wear an impact vest or buoyancy aid, plus a helmet when you are learning, riding around other people or launching in challenging spots.
Foil hardware deserves the same attention. Use the correct screw lengths, apply the recommended thread treatment where required, and tighten bolts evenly. Rinse your kit after saltwater sessions, particularly around mast connections and fasteners. A damaged wingtip, loose mast bolt or corroded screw can quickly become a safety issue.
It also pays to choose a system you can grow with. Stoked on Foiling can help riders build a compatible package rather than guessing whether a mast, fuselage, stabiliser and front wing will work together. That support matters because a foil is not just one product - it is a tuneable system.
Learn in the right place and conditions
Your first sessions should happen in steady wind, clear water and enough depth to keep the foil safely away from the bottom. Flat water is helpful, but small wind chop is manageable if the wind is consistent. Avoid crowded swimming areas, narrow launch zones, offshore wind and heavy shore break while you are finding your feet.
Before launching, look downwind and decide where you will finish if you cannot ride back. Practise handling the wing on your knees first. Then stand, ride on the board without trying to foil, and only lift once you have steady speed. When the foil rises, shift weight gently rather than stomping on the back foot. Most first flights end with too much rear-foot pressure, so keep your body low and let the foil come up gradually.
Falling is part of the deal. Fall clear of the foil where possible, keep the wing away from sharp edges, and never try to catch the board with your feet. A calm, deliberate reset saves more energy than fighting every wobble.
Progress with purpose
Once you can ride both directions, resist the urge to chase every advanced move at once. Spend time making your stance quieter, controlling height over chop and riding with less power in the wing. Those skills make gybes, tacks, toe-side riding and small jumps far less mysterious later on.
The best wing foiling set-up is the one that gets you on the water often, gives you confidence in your local conditions and still has something to teach you six months from now. Choose for the rider you are today, leave a sensible path for tomorrow, and every good seabreeze has a chance to become a foil day.